The Build Process
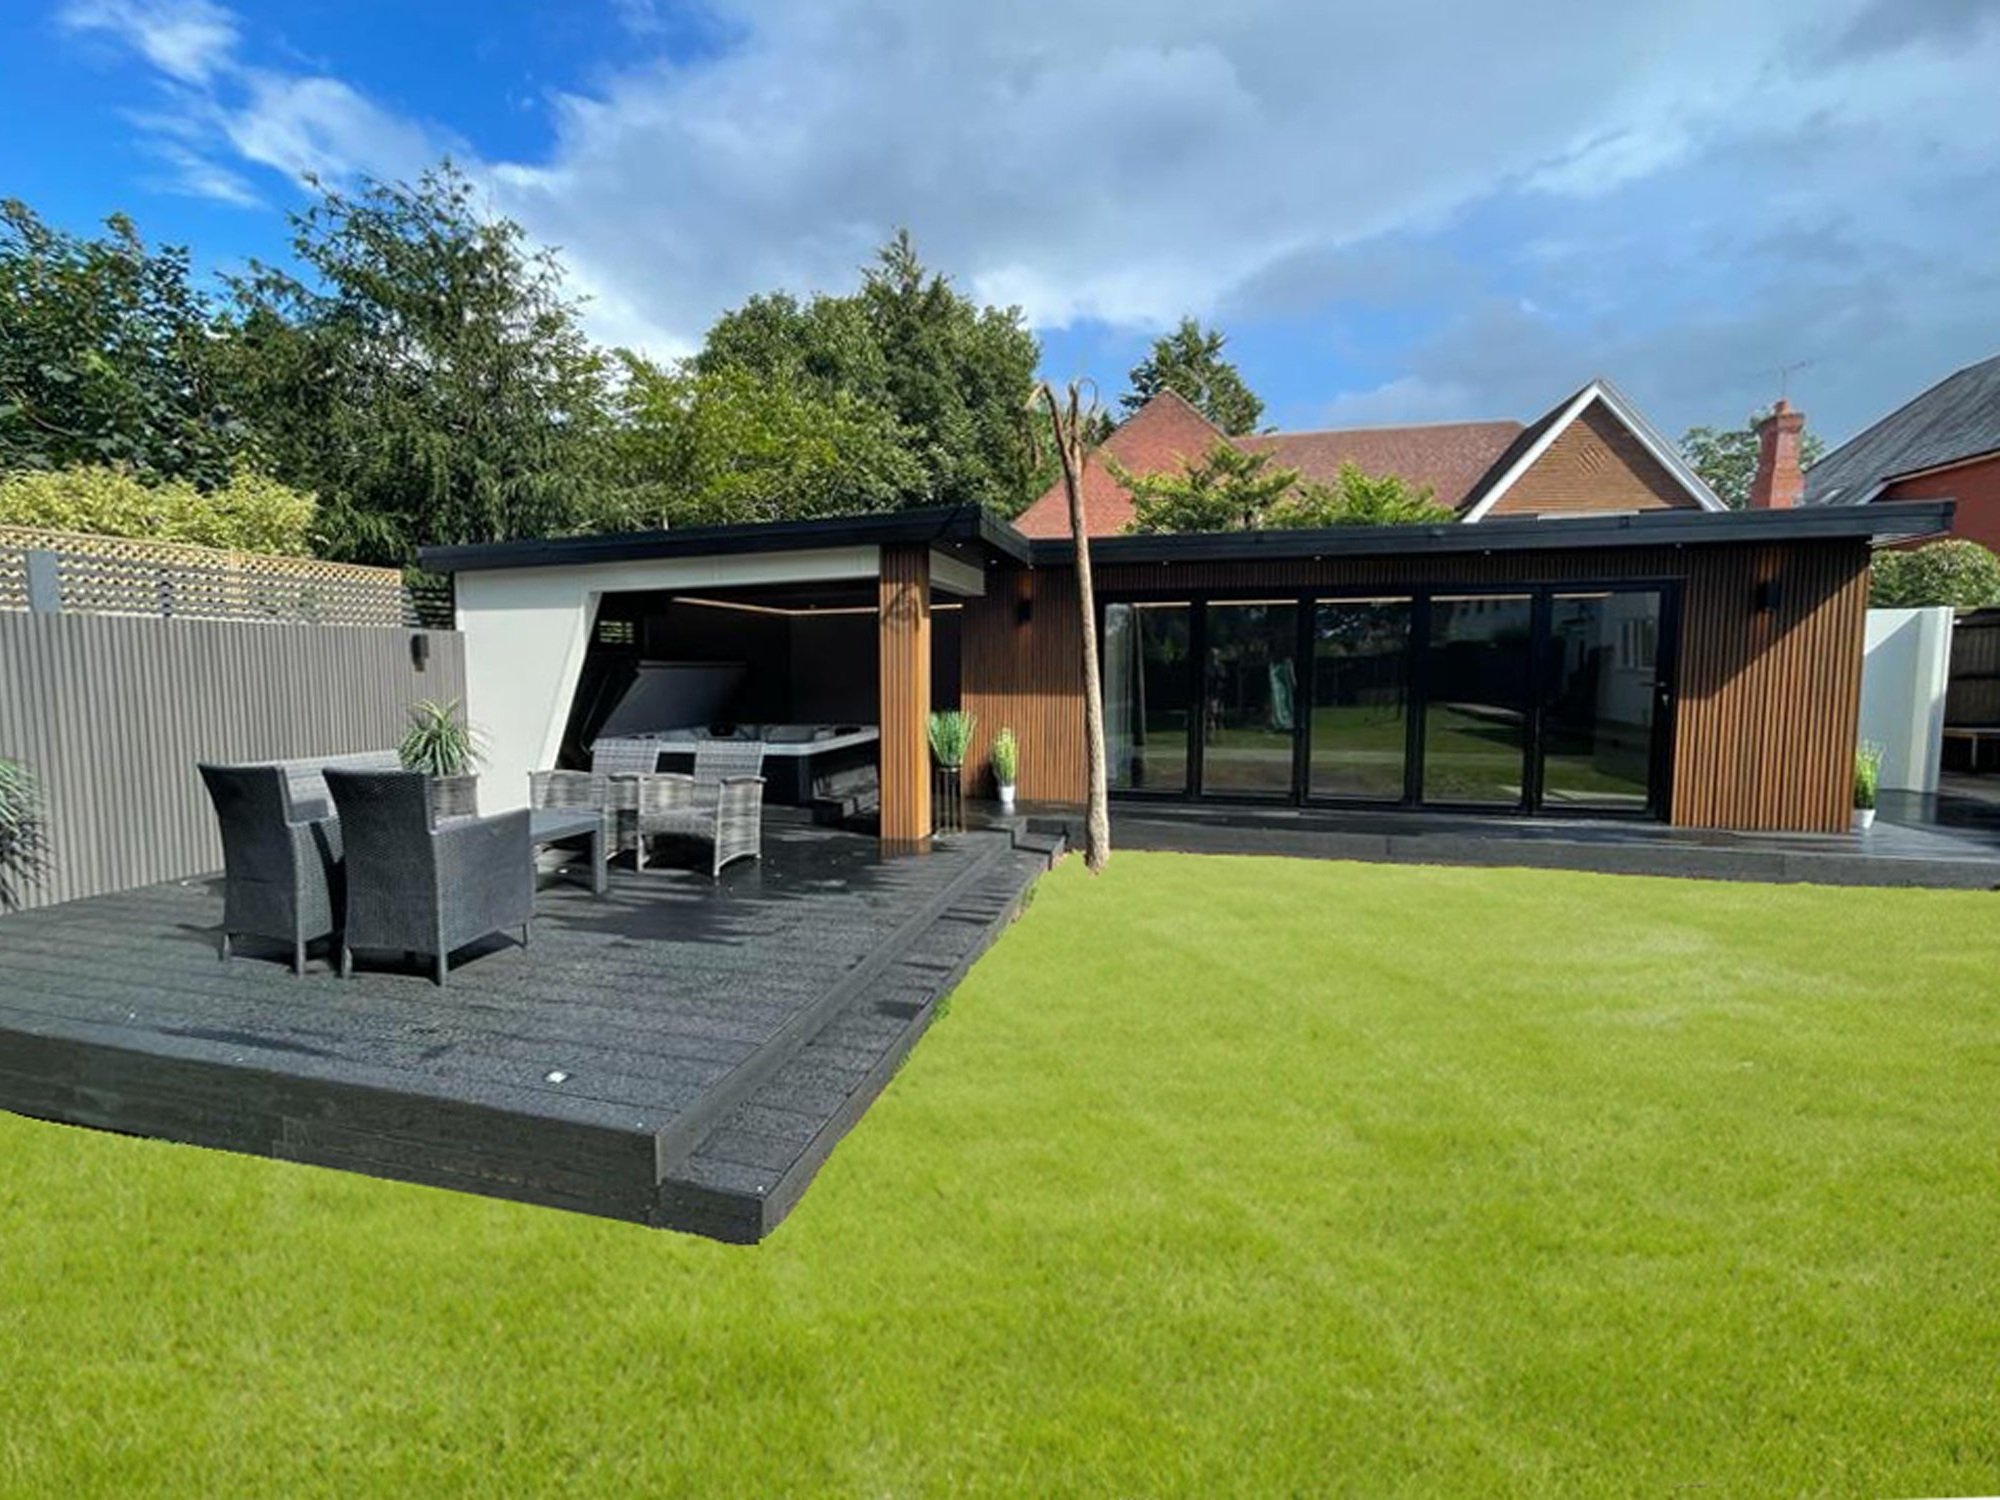
All Artisan Garden Rooms buildings are unique, but to give you an understanding of how the build will progress and an idea of the time scale we have highlighted below key stages through the process and when you can expect them to take place. The timescales below would be based on a garden room of approximately 15m2.

The base
Day 1 - We start the base, obviously a very important part of the build process, we will create a structural base using pressure treated timber, the base is not in contact with the ground as it is supported by composite plastic posts that are completely rot-resistant, these posts are then supported by multiple concrete piles below ground. PIR insulation is fitted into the base voids and then completely covered with a DPM.

The walls
Days 2/3 - The walls are built from structural grade timber and then lined with OSB sheets to add rigidity. We will wrap all of the walls with a breathable membrane to keep the building watertight, roofing battens are then fixed over the membrane ready to take the selected cladding. PIR insulation is fitted inside the walls and a steel flitch beam is used above large doors to add strength.

The roof
Day 4 - The roof structure comprises structural grade timbers which are then covered with T&G OSB sheets to create a perfectly flat surface for the EPDM roof covering to adhere to. The EPDM has a life expectancy of 50 years and is an inert material with limited environmental impact, offering unmatched resistance to ozone, UV radiation and high or low temperatures.

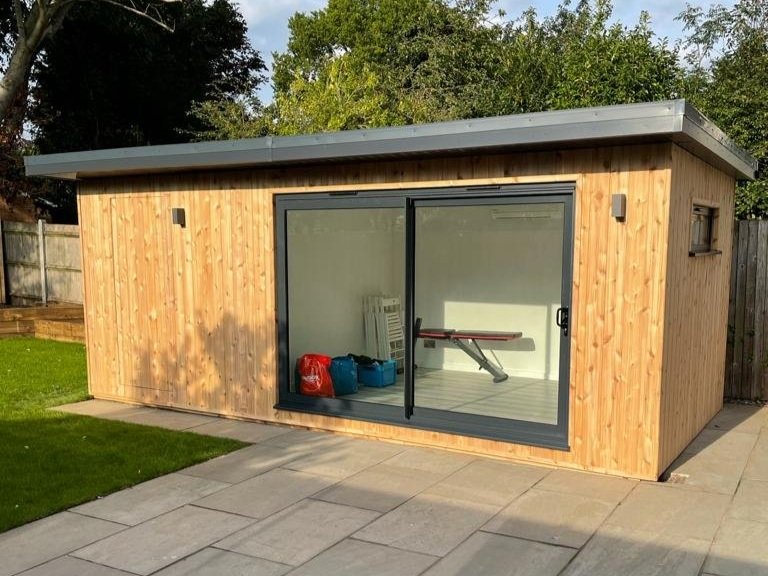
The cladding
Day 5 - Now we will begin cladding the garden room with your chosen product. If you have opted for a timber cladding we will use a second layer of roofing battens to create a void, which will allow air to circulate behind the Cedar and enable the cladding to dry out once wet. Stainless steel nails are used with Cedar to avoid any staining of the Cedar.

The electrics
Day 6 - Having previously run an armoured cable from your house to the garden room, now we will start the electrical work inside as per the agreed specification. All work is certified by our in-house electricians and is never subcontracted. CAT6 cabling can also be installed if a wired internet connection is required.

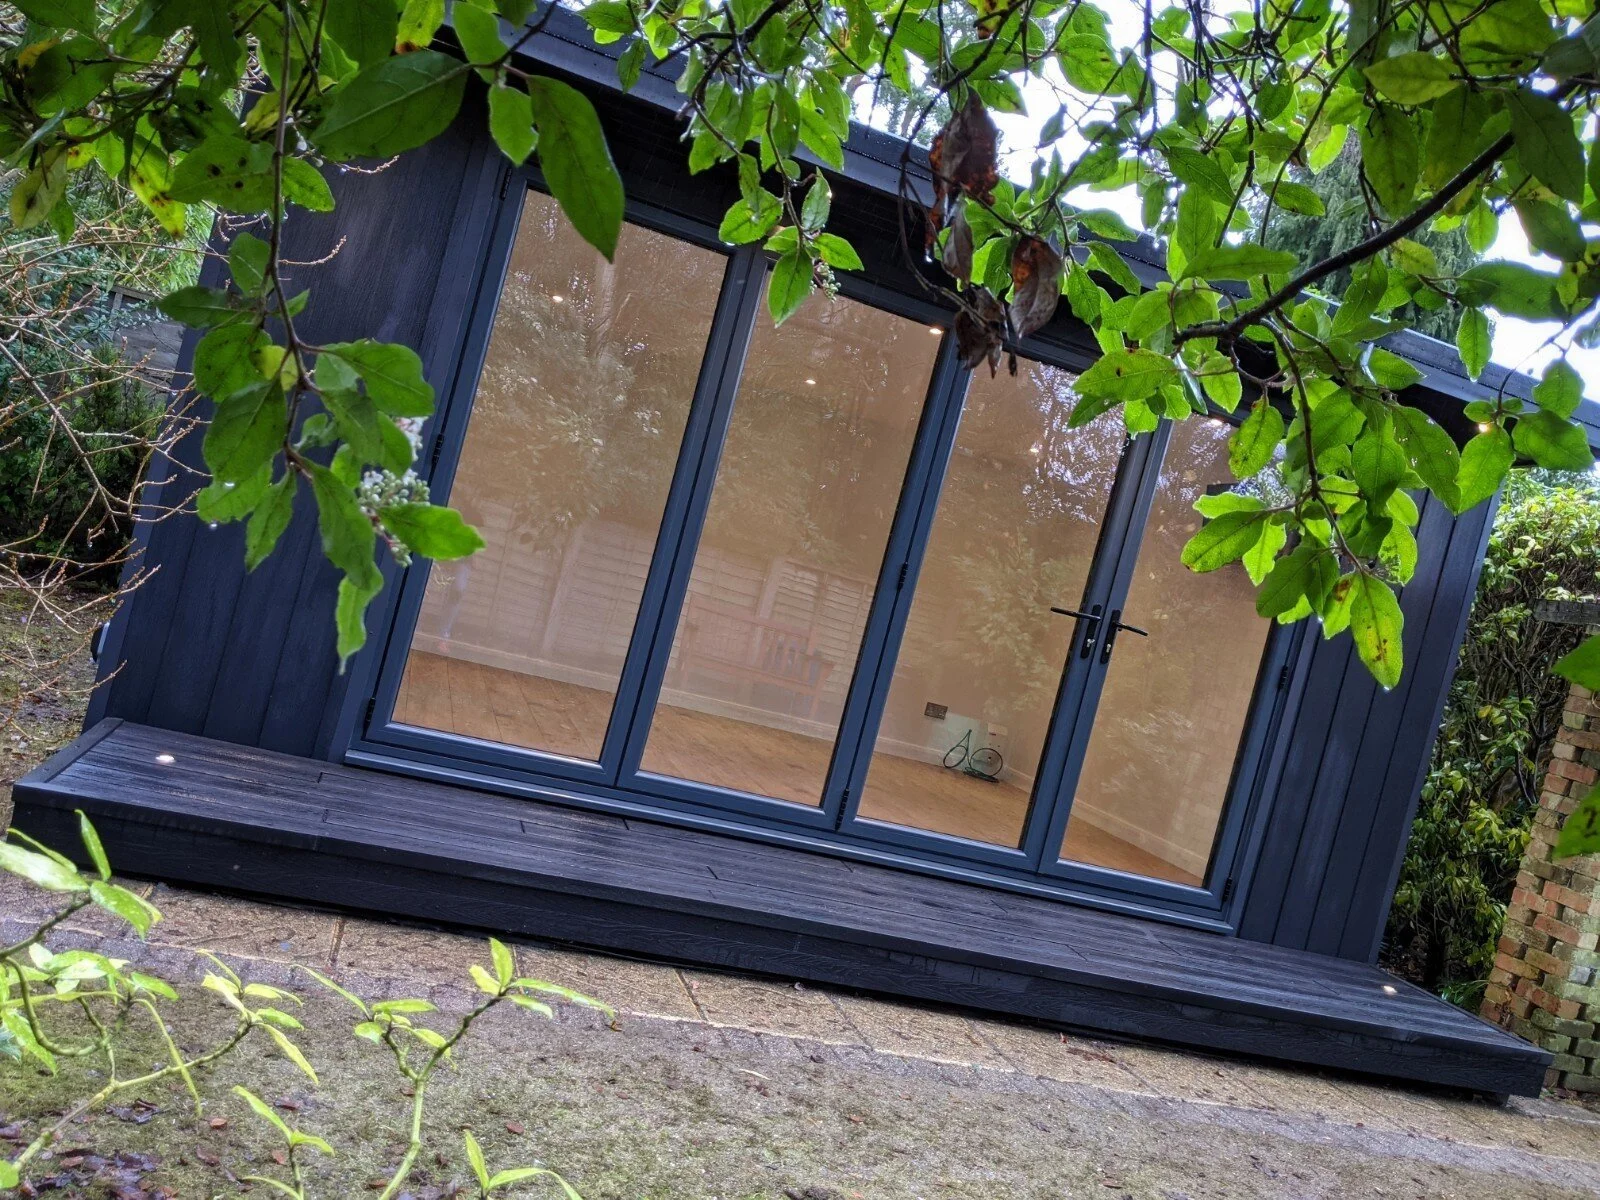
The finish
Days 7/8/9 -The home stretch now, first we will install your specified doors and windows. Now its time for the plasterboard with a vapor membrane beneath and plastered finish over over the top, once dry we will apply 3 coats of paint. Your chosen flooring will be installed next, along with the skirting and architrave. Now just add your furniture!